customize

DIY : Customisez un maillot de bain avec du liberty I Customize your bathing suit with liberty

customiser un maillot de bain avec du liberty ilovediy

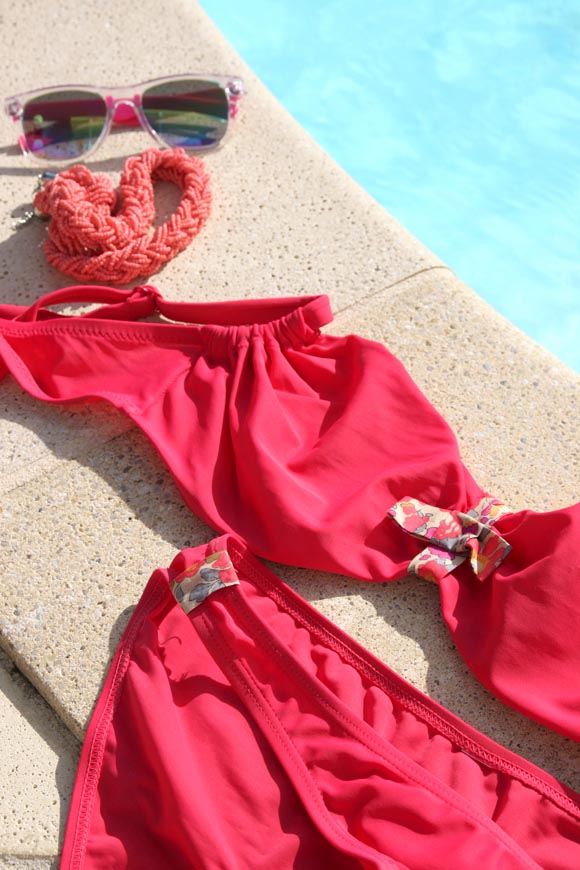
Pas facile de trouver le maillot de bain de ses rêves ! Entre coupe, coloris et petits détails qui font la différence, souvent on est obligé de faire des compromis. Alors imaginez lorsqu’on est enceinte ;-( Et bien j’ai résolu mon problème en customisant un maillot basique !

Not easy to find a bathing suit ! Between the cutting, the color and the small details that make the difference, we often need to make concessions. So imagine when you are pregnant ;-( I have solve my problem by customizing a basic one !

materiel pour customiser un maillot de bain

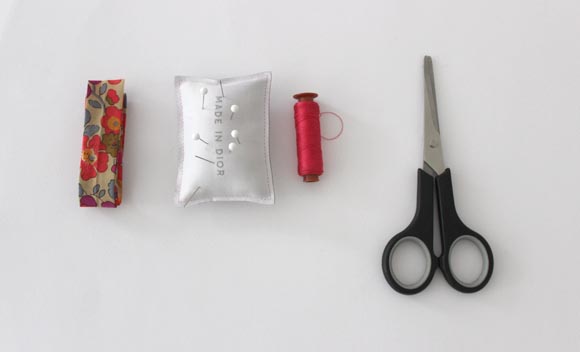
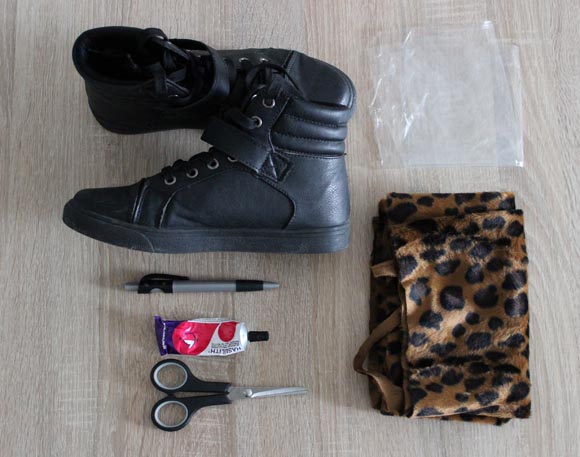
Pour customiser votre maillot de bain avec une pointe de liberty il vous faut :

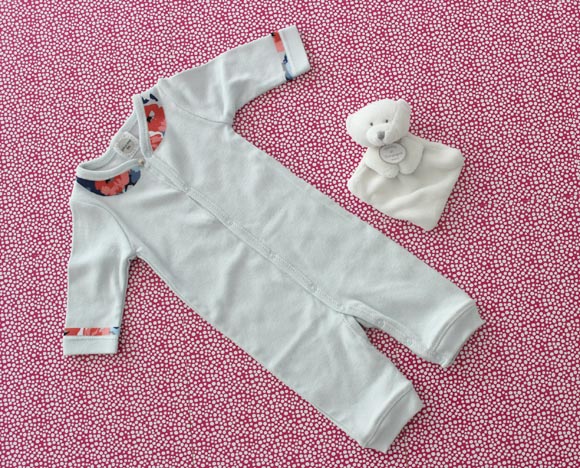
-Un maillot de bain (le mien vient de chez Eurodif je l’ai acheté pendant les soldes pour 8€ l’ensemble)

-Un mètre de biais en liberty  (j’ai choisi le Fluo thé sur Perles and Co)

-Du fil assorti et une aiguille

To customize your bathing suit with liberty you need :

-A bathing suit

-One meter of liberty ribbon

-Assorted thread and needle

customiser un maillot de bain avec du liberty ilovediy2

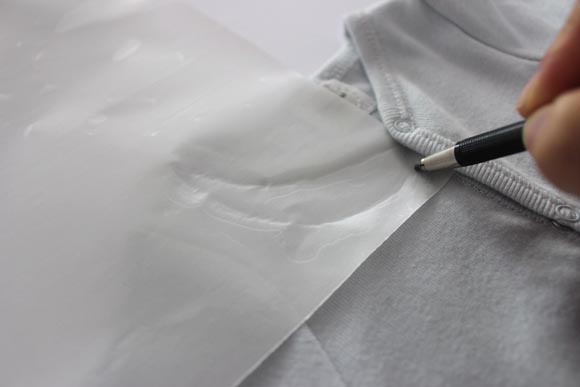
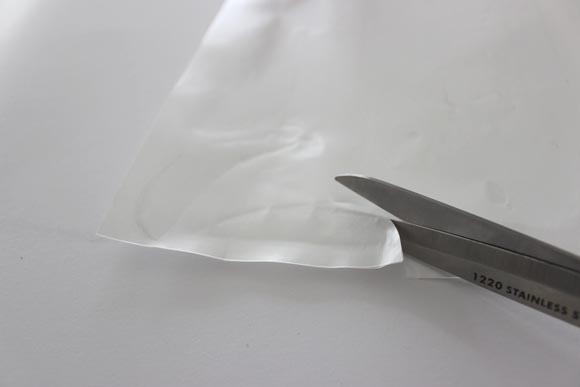
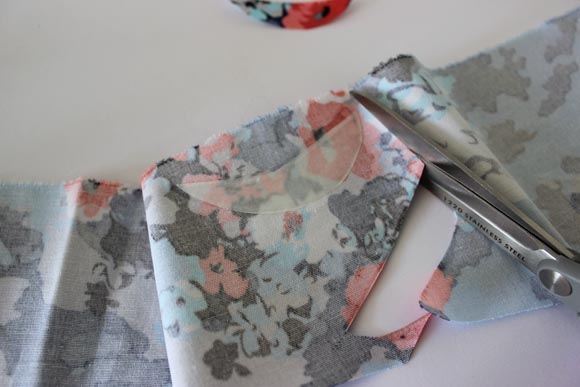
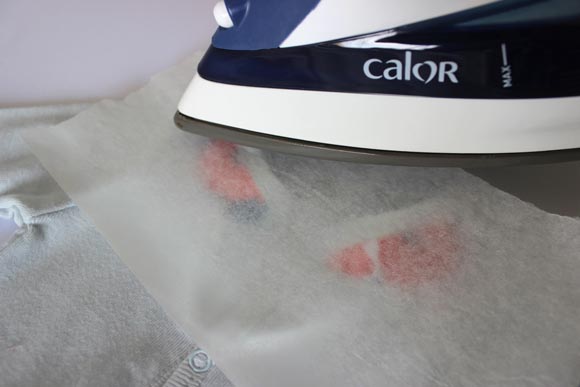
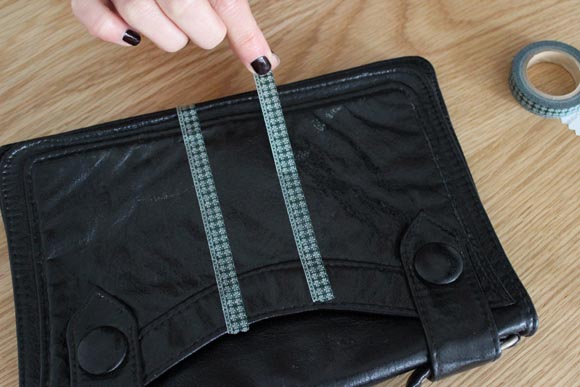
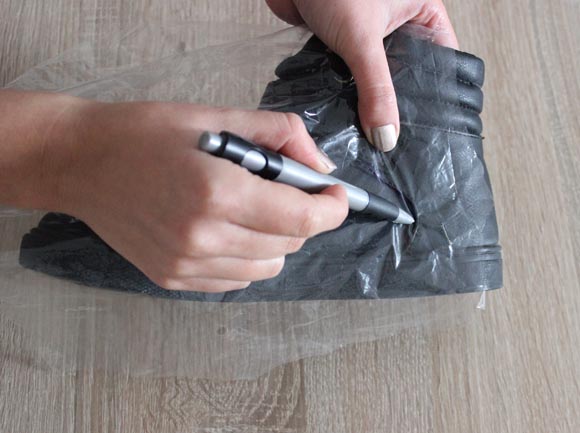
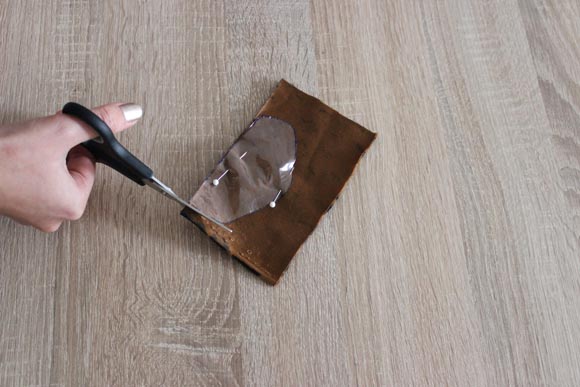
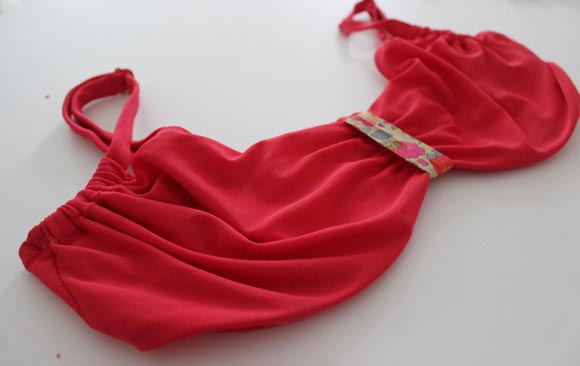
Coupez une petit morceau de biais et l’épingler sur les côtés du bas du maillot.

Cut a little piece of ribbon and pin it to the bottom of the bathing suit.

customiser un maillot de bain avec du liberty ilovediy3

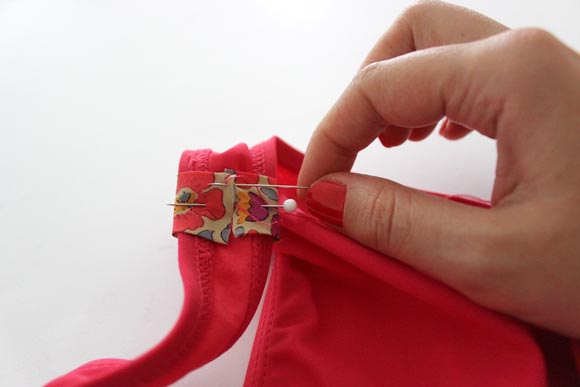
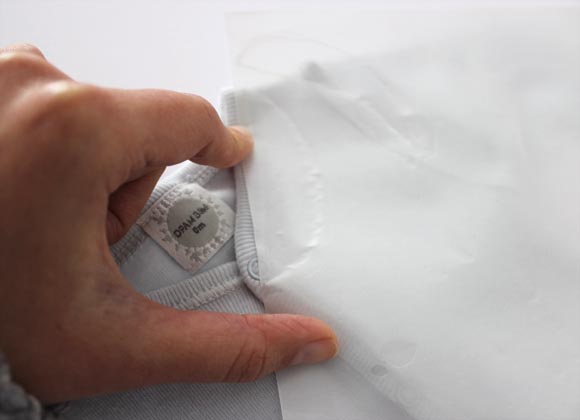
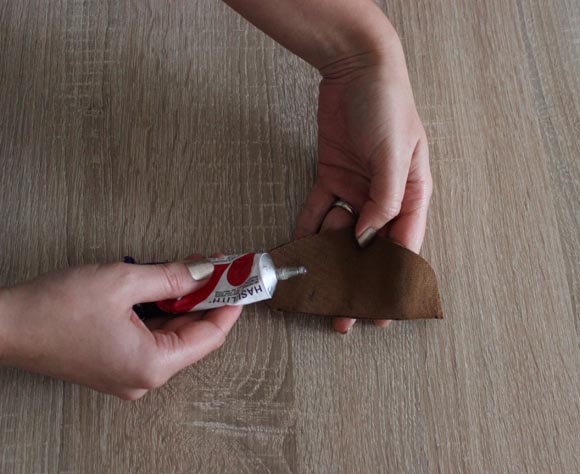
Le coudre à la main. Faites plusieurs points pour être sûr que vous ne le perdiez pas au cours d’une baignade ;-)

Sew it by hand. Secure it with several points to make sure your don’t lost in on the waves ;-)

customiser un maillot de bain avec du liberty ilovediy4

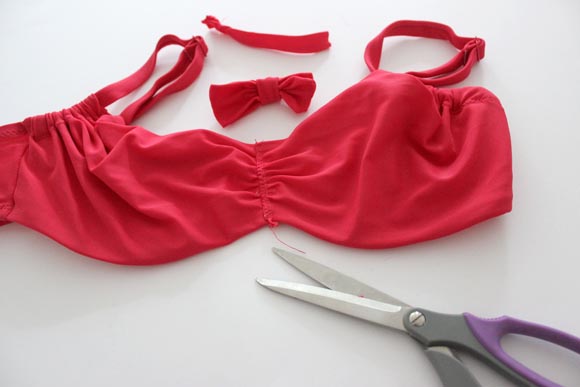
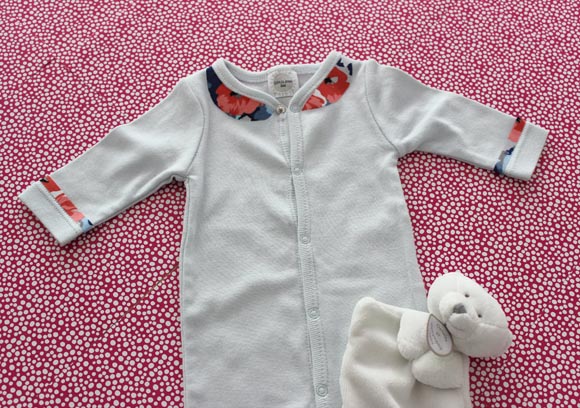
Sur mon modèle il y avait un nœud que j’ai ôté pour le remplacer par du liberty. Vous pouvez aussi customiser les brettelles, ou tout autre partie du maillot.

On the bathing suit I bought there was a bow. I remove it to replace it by the liberty. You can also decide to customize the braces or any other parts.

customiser un maillot de bain avec du liberty ilovediy5

IMG_6965

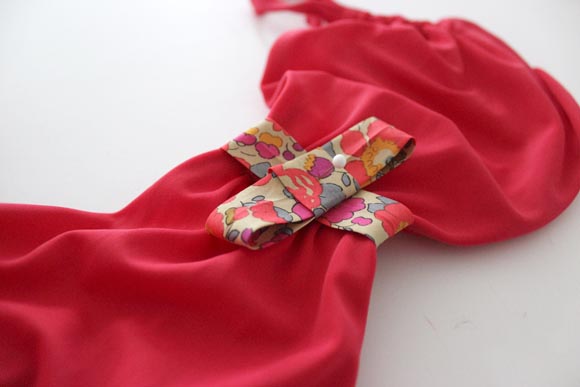
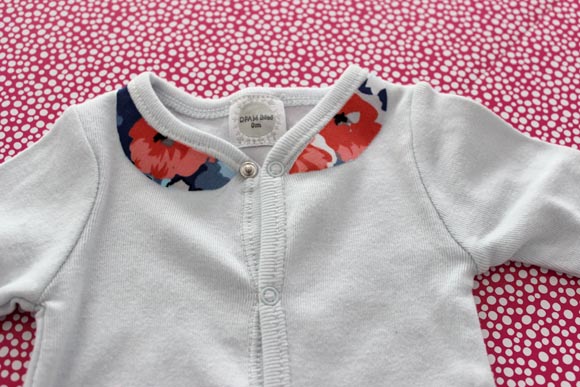
Au lieu de poser une simple bande, je l’ai orné d’un nœud plat.

Instead of putting a simple strip I realize a plate bow. customiser un maillot de bain ilovediy

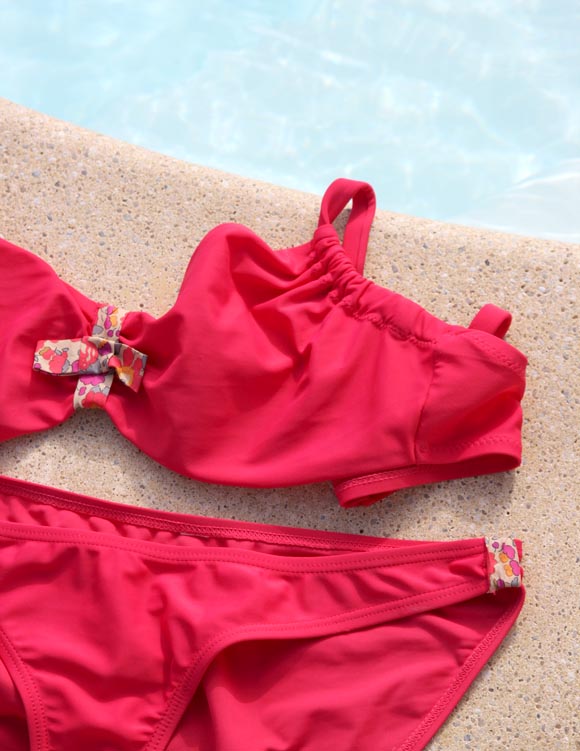
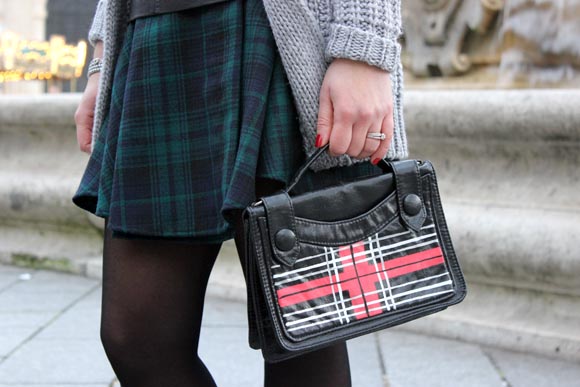
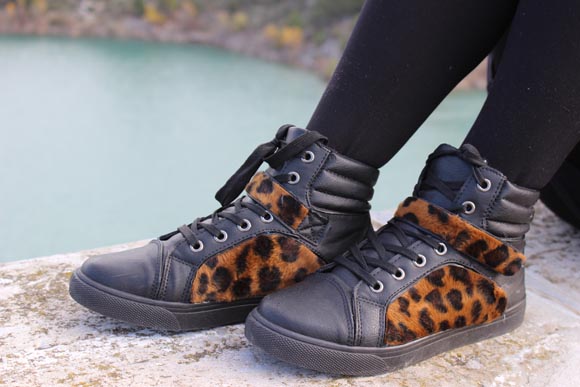
Et voila une petite custo simple qui m’aura coûté moins de 2 euros pour un total : maillot + custo = 10€.

Et vous avez-vous déjà customisé votre maillot de bain ? Si oui comment ? Partagez vos bons plans !

Tada ! A really simple way to customize your bathing suit for less than 2 euros (bathing suit and custo for 10€).

What about you ? Have you already customized your bathing suit ? If yes how ? Let’s share your tipps !

DIY bébé : Customisez un body avec un col claudine | Customize a baby bodysuit with a peter pan collar

customisez un body de bebe avec un col claudine11

Aujourd’hui c’est un jour particulier pour moi … Aujourd’hui je passe le cap de la trentaine ! ET comme si cela ne suffisait pas je vais devenir maman d’une petite fille au mois de Septembre ;-) Vous l’avez peut-être remarqué mon vente s’est arrondi au fil de mes articles et pour vous l’annoncer officiellement j’avais envie de réaliser un DIY spécial bébé! J’ai pensé à un tuto réalisable par tous, sans coutures, pour offrir à une amie comme cadeau de naissance ou pour recycler d’anciens bodys que l’on vous a donné ou qui appartiennent à votre premier ! Et puis pour toutes celles qui sont loin de la maternité vous pouvez toujours appliquer cette technique sur un top !

Today is a particular day for me…. Today I turn 30 ! And as this was not sufficient I am going to be a mom of a little girl in September ;-) Maybe you have noticed that my belly was growing in my last articles…but I wanted to announce it officially with a baby DIY ! I have think about a tutorial that everybody can make, without sewing, that you can offer to a friend for birth present or simply to recycle old bodysuits that somebody gave you or that you bought for your 1st child ! And for the one which are far from maternity  you can still realize it on a simple tee-shirt !

materiel pour customiser un body d'enfant

Pour customiser un body avec un col claudine il vous faut :

-Un body (ou un tee-shirt )

-Un morceau de tissu. La quantité dépend de la taille du col que vous souhaitez faire.

-Une feuille thermocollante double-face 

-Une paire de ciseaux

-Un crayon de papier

-Un fer à repasser

To customize a bodysuit with a peter pan collar you need : 

-Un bodysuit (or a simple tee-shirt ) 

-A piece of fabric. The quantity depends on the size of the collar. 

-A double face iron-on paper

-A pair of scissors 

-A pencil 

-An iron

customisez un body de bebe avec un col claudine2

Placez la feuille thermocollante sur le col du body et dessinez au crayon une forme de col claudine.

Place the iron-on paper on the collar of the bodysuit and draw the form with the pencil. 

customisez un body de bebe avec un col claudine3

Faites de même de l’autre côté.

Do the same on the other side.

customisez un body de bebe avec un col claudine4

Coupez les 2 formes.

Cut the 2 forms. 

customisez un body de bebe avec un col claudine5

Vérifiez que vos formes sont adaptées.

Verify that the forms are adapted. 

customisez un body de bebe avec un col claudine6

Placez les deux parties du col au dos du tissu. ATTENTION AU SENS dans lequel vous le mettez car vous vous trouvez au verso du tissu. Placez une feuille de papier de cuisson ou un torchon ou un tissu.

Place the 2 sides of the color on the back of the fabric. BE CAREFUL on the way you put it because you are at the back of the fabric. And place a piece of cooking paper or fabric. 

customisez un body de bebe avec un col claudine7

Repassez pour transformer votre tissu en pièce thermocollante.

Iron it to make so you will be able to glue your fabric. 

customisez un body de bebe avec un col claudine8

Puis découpez le col.

And cut the collar. 

customisez un body de bebe avec un col claudine9

Vérifiez que le col a une taille et une forme correcte avant de la fixer définitivement.

Verify that the collar suits well before fixing it for good. 

customisez un body de bebe avec un col claudine10

Retirez la petite pellicule au dos avant de repasser de nouveau.

Pull out the paper at the back and iron-it again. 

customisez un body de bebe avec un col claudine12

Et voila ! Un petit body bleu beaucoup plus féminin ! J’ai aussi rajouter des petites touches sur les manches. Vous pouvez vraiment laisser parler votre créativité.

And here you are! I have add a feminin touch to a bley bodysuit ! I have also add pink touch to the sleeves. You can really express your creativity. 

customisez un body de bebe avec un col claudine13

Et pour celle qui l’ont remarqué j’ai utilisé le même tissu que pour mon teddy en dentelle customisé ;-)

And for the one which have noticed I have used the same fabric than my customized lace jacket ;-)

DIY : Customiser un sac avec un motif tartan au feutre | Customise a purse with a felt pen tartan print

customise un sac avec du tartan au feutre posca ilovediy

La fièvre du tartan a encore frappé chez moi… Après ma jupe DIY, j’ai eu envie d’un sac tartan avec une pointe de rouge. Et lorsqu’on a une idée très précise de ce que l’on veut autant le fabriquer soi-même. J’ai pour ma part décidé de customiser un sac noir que j’avais déjà avec le fameux imprimé écossais. J’aurais pû opter pour une applique de tissu comme pour mon sac besace customisé avec du léopard mais j’ai préféré choisir une technique accessible à tous aux feutres textiles POSCA ! Vous n’y croyez pas ? Pourtant le tuto est bien là.

Tartan fever has one more time itched me… After my  DIY skirt, I wanted to have a tartan purse with some red on it. And when I have a too precise idea of what I want, I always say “nothing is better than realize your own”. I have decided to customize a black purse that I already have with the famous Scottish print. I should have used to apply fabric the same way I did for my leopard purse DIY but I wanted to use an afordable  technic with fabric pen ! You don’t believe me ? The tutorial is right here.

customiser son sac avec du tartan ilovedoityourself

 Pour customiser un sac avec un motif tartan il vous faut :

-Un sac

-Des feutres POSCA rouge (pointe large), blanc, argenté et noir.

-Du masking tape

-Un sèche-cheveux

To customize your purse with tartan print you will need :

-A purse of your choice

-POSCA pens, red, white, silver and black.

-Masking tape.

-A blow dryer.

placer du ruban de masquage pour créer le motif tartan

Commencez par placer votre masking-tape au centre pour former une bande puis colorier à l’aide du feutre.
Attendez que cette bande sèche avant de placer le masking-tape horizontalement et de colorier à nouveau. Continuez à créer le motif selon vos envies.

Start by placing the masking-tape in the center to form a strip and then draw it with the red pen. Wait the strip to dry and place the masking-tape horizontally and draw again. Continue to create the print the way you want.

creer-un-motif-tartan-au-fe

Si vous avez fait quelques bavures, n’ayez pas peur, prenez un coton de tige et nettoyer. Tant que le feutre n’est pas fixé avec la chaleur il est lavable. Si d’ailleurs vous n’êtes pas satisfait du résultat nettoyez tout à l’eau et recommencez.

If you have made some drips don’t worry, take a Q-tip and clean. As long as the pen is not fixed with heath it is washable. If you are not happy with what you draw you can clean everything and do it again.

fixer a la chaleur

Une fois que vous êtes satisfait du résultat, fixez le motif avec un sèche-cheveux. Si votre sac est en tissu vous pouvez utiliser un fer-à-repasser.

Once you are satisfied with the result, fix the print with a blow dryer. If your purse is made of fabric use a iron.

un sac customisé avec du tartan ilovedoityourself

Alors vous en pensez-quoi de cette technique ?

So what do you think about this technic?

jupe tartan diy

bonnet diy

Top en cuir DDP, jupe DIY, Gilet C&A, collier épingle à nourrice DIY, Bonnet DIY tuto vidéo ici.

Leather top DDP, DIY skirt, C&A cardigan, safety pin necklace DIY, DIY beanie vidéo tutorial here.


DIY : Customiser des baskets avec du léopard | Customize your sneakers with leopard

baskets leopard ilovediy

Le léopard c’est pour moi l’imprimé intemporel… chaque fois il revient sous un nouvel angle. On le voit cette année en grand avec des motifs XXL et des couleurs pas franchement animales.

Moi j’aime le porter sur des accessoires en petites touches. Alors cette paire de baskets noires et tristounettes ne l’est pas restée  longtemps… Quelques coups de ciseaux et de colle plus tard, mais sneakers ont une nouvelle  tête !

Leopard print is for me timeless… Every time it’s back with a new trend. This season it is back with XXL prints and colors no really animals.

 I love to wear it on accessories. So this black and sad pair of shoes couldn’t stay like that a long time… A few cut and some glue later, my sneakers have a new look !

materiel pour customiser des baskets noires toutes simples ilovediy

Pour customiser vos baskets avec une touche de léopard il vous faut : 

-Une paire de baskets

-Du tissu léopard

-Un morceau de plastique le plus transparent possible

-Un stylo

-De la colle

-Une paire de ciseaux

To customize your sneakers with leopard print you need : 

-A paire of sneakers

-A piece of leopard fabric

-A piece of clear plastic as much transparent as possible

-A pen

-Glue

-Scissors

dessiner des formes a l aide de plastique

Je me suis servie des endroits évidés avec coutures pour décalquer sur le plastique et reproduire la forme. Si vous baskets ne sont pas faites de la même manière définissez vous-même la forme.

I used cut out place to transfer on the plastic and copy the form. If your sneakers are not made like mine, draw the form the way you want.

j'ai obtenu une forme decalqué sur le plastique

Voila la forme que j’ai obtenu.

Here is the form I get.

Decoupez

Découpez le plastique selon la forme dessinée.

Cut the plastic thanks to the drawing.

Verifiez

Vérifiez, en posant le plastique sur votre chaussure, si la forme découpée correspond bien.

Verify, by placing the plastic on your shoes, if the cut form is what you want.

Découpez le tissu

Epinglez la forme sur le tissu et découpez la autant de fois que nécessaire. J’ai pour ma part découpé 4 morceaux identiques.

Pin the form on the fabric and cut it as many times as needed. I have cut it 4 times for my project.

Coupez des bandes

J’ai aussi réalisé 2 bandes pour recouvrir les lanières.
I have also realized 2 strips to cover the straps.

Coller le tissu

Appliquez de la colle sur le tissu, bien positionnez aux endroits définis et laissez sécher.

Apply the glue on the fabric, place it well at the define space and let it dry.

des nouvelles baskets leopard diy

Et voila ! J’ai une nouvelle paire de baskets léopard ! Vous aimez ?

And here I am ! I got a new pair of leopard sneakers ! Do you like it ?

customise des baskets avec du leopard ilovedoityourself

Ne sont-elles pas parfaite pour une ballade à la Sainte-Victoire pour un passage éclair à Aix-en-Provence ?

Aren’t they perfect for a walk at the Sainte-Victoire in Aix-en-Provence ?

mon sweat customisé pour marie claire idees

Sweat customisé pour Marie-Claire Idées, robe portée en jupe Sandro, Baskets DIY.

Sweat customized for Marie-Claire Idées, dress wore like a skirt Sandro, Sneakers DIY.


DIY : On customise un sac shopping avec des feutres POSCA | Let’s customize a shopping bag with POSCA markers

ilovediy for posca

Lors de ma visite au Salon Créations et Savoir-Faire dont je vous parlais dans un précédant article, j’avais évoqué ma participation à un atelier customisation avec POSCA. C’était pour moi une belle découverte ! Ces marqueurs sont géniaux car on peut absolument tout customiser avec ! Ils sont compatibles avec le tissu, le bois, le verre, le plastique, les matières minérales, la céramique, les métaux et bien sûr le papier. Si la matière que vous décidez de customiser est amenée à être lavée ou mouillée, vous devez fixer la peinture avec un fer à repasser ou petit astuce avec un sèche-cheveux si la zone est difficile d’accès, je pense aux chaussures notamment. Vous comprenez pourquoi il est devenu mon meilleur ami ! Ce que je trouve aussi top ce sont les différentes tailles de mines qui existent et surtout le fait qu’elles soient lavables et interchangeables ce qui permet une longue durée de vie du feutre.

During my visit to the “Créations et Savoir-faire”show, I had the chance to participate to a customization workshop with POSCA. It was for me a great discovery ! These markers are just genius because they can customize absolutely everything ! Fabric, wood, glass, plastic, mineral material, ceramic, metal and of course paper. If the material you want to customize is going to be washed or wet, you have to fix the painting with an iron or if the place is difficult to access with a blow-dryer, I am thinking about shoes for example. You understand why it’s my best friend now ! I also love the fact that there are several sizes of leads and that you can wash and change them so your pen will last longer.

Choisir un motif

L’atelier proposé par POSCA consistait à customiser un sac shopping. Nous avons donc eu comme base un sac en toile et une série de dessins. Nous pouvions aussi bien sûr dessiner nos motifs. Je n’ai pas pu résister à customiser mon sac avec une tête de mort (Et oui je suis fan la preuve ici et ici).

The workshop proposed by POSCA was about customizing a shopping bag. So they offered us a fabric bag and some prints we can use. For the most gifted they could of course draw their own print.

I couldn’t resist to choose a skull (you know I am fan : proof here and here).

placez le motif sous le sac pour decalquer
Il suffisait ensuite de placer le motif dans le sac et de décalquer grossièrement le dessin à l’aide d’un crayon à papier.

Then you just had to place the print inside the bag and approximately transfer the drawing with a drawing pencil.

decalquez au crayon

Ensuite plus qu’à repasser sur le crayon avec le feutre. J’ai choisi d’utiliser une mine moyenne.

Then just have to call in again with the pencil with the marker. I have chose to use a medium one.

puis dessinez le contour

Laissez ensuite parler votre créativité dans le choix des couleurs, pour moi du doré et de l’argenté.

Then let your creativity work for you for the colors. I have decided to use silver and gold.

la tete de mort finie

Et bien sûr d’ajouter une petite dédicace…

And for sure to add a little dedication…

dedicace

Un coup de fer à repasser plus tard, voilà mon nouveau sac shopping bien pratique pour aller faire mes courses ! Et surtout unique au monde ;-)

Few stroked of iron later, here is my new shopping bag very useful  ! And the only one in the world :-)

Sac shopping customisé avec des feutres posca

sac shopping posca

chaussures modress

Parka et jeans ZARA, baskets Modress.

Coat and jeans Zara, sneakers Modress.